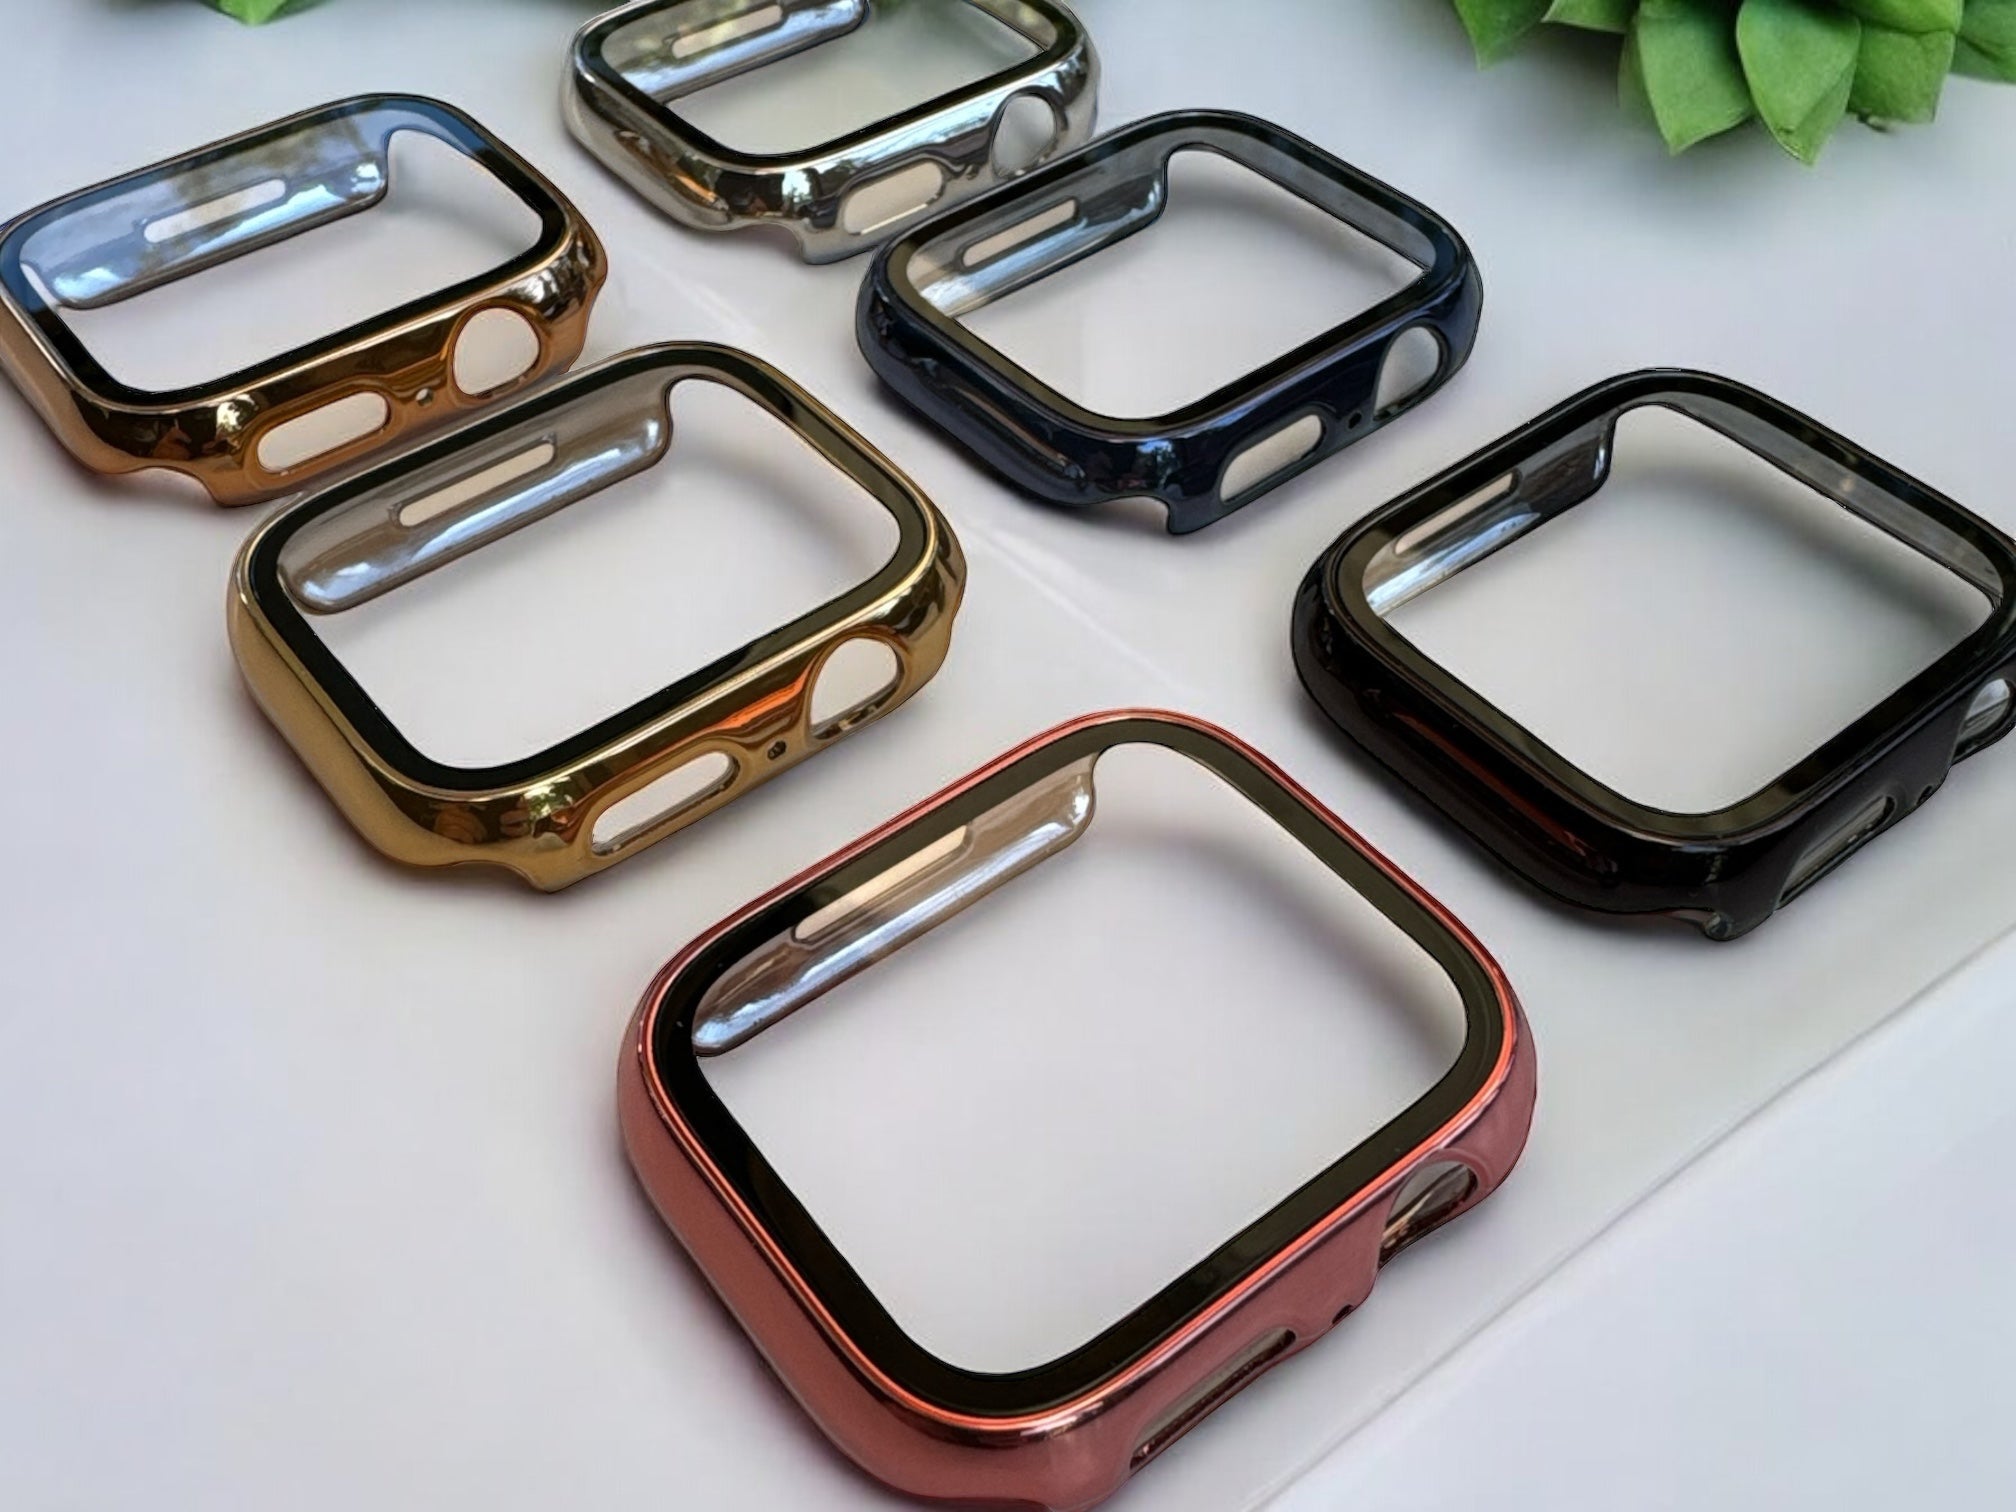
user guide for: Apple watch milanese band
Your Apple Watch milanese buckle band can be resized to fit most wrists. You'll only have to resize it once.
Step 1:
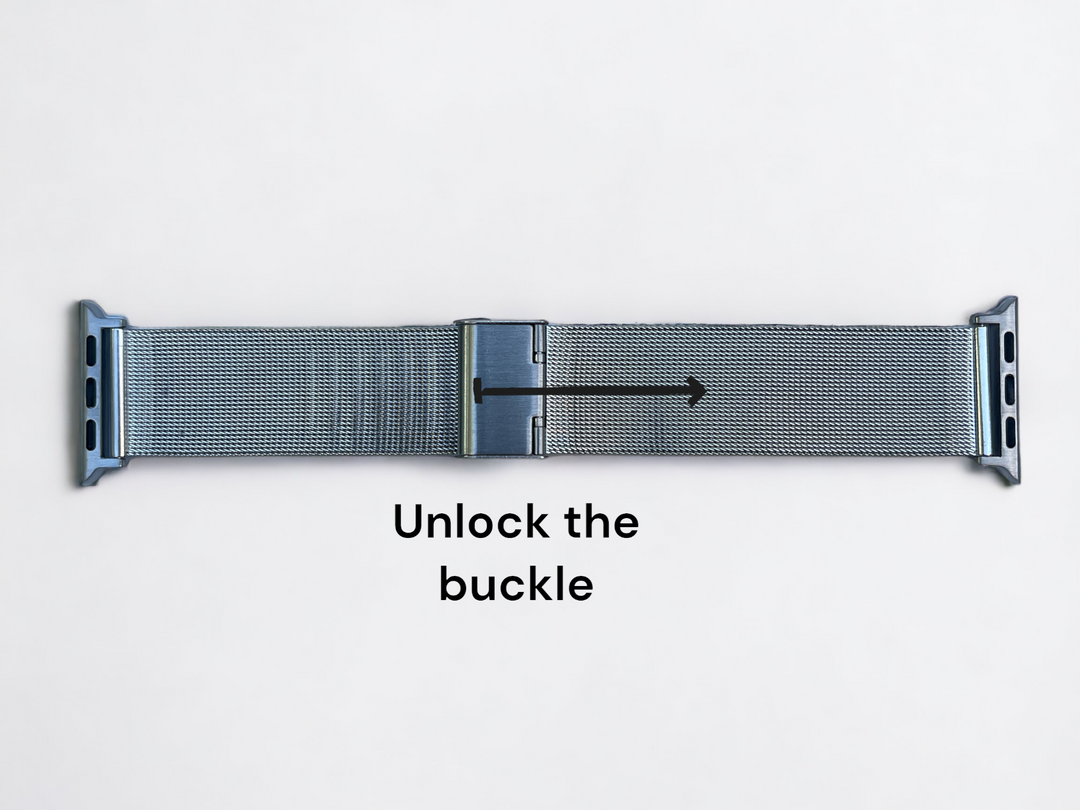
Unlock the buckle by popping it up and open (opposite side of the hinge).
To securely lock the band:
Please note there is a small latch under the top buckle. To lock the buckle, this latch needs to go over the bar inside the bottom buckle and then close the buckle for a secure lock.
Step 2:
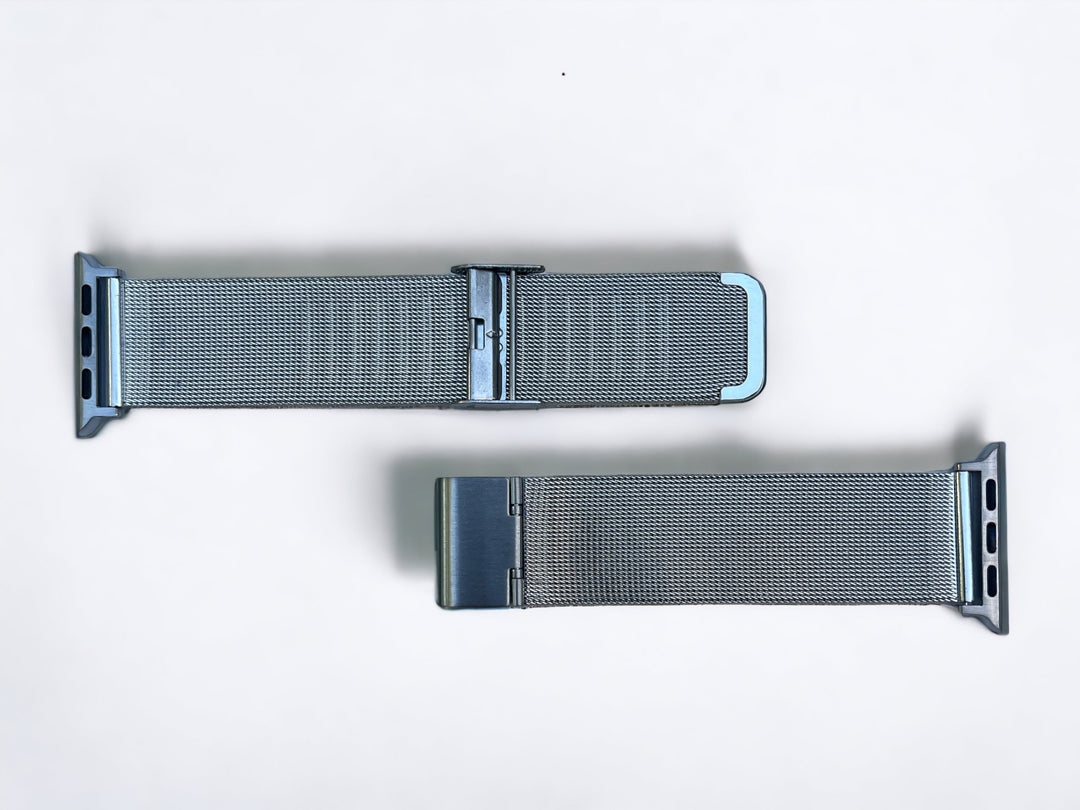
The Apple Watch band should come apart by unlatching the top band off from the second band and will become two separate bands as shown below.
Step 3:
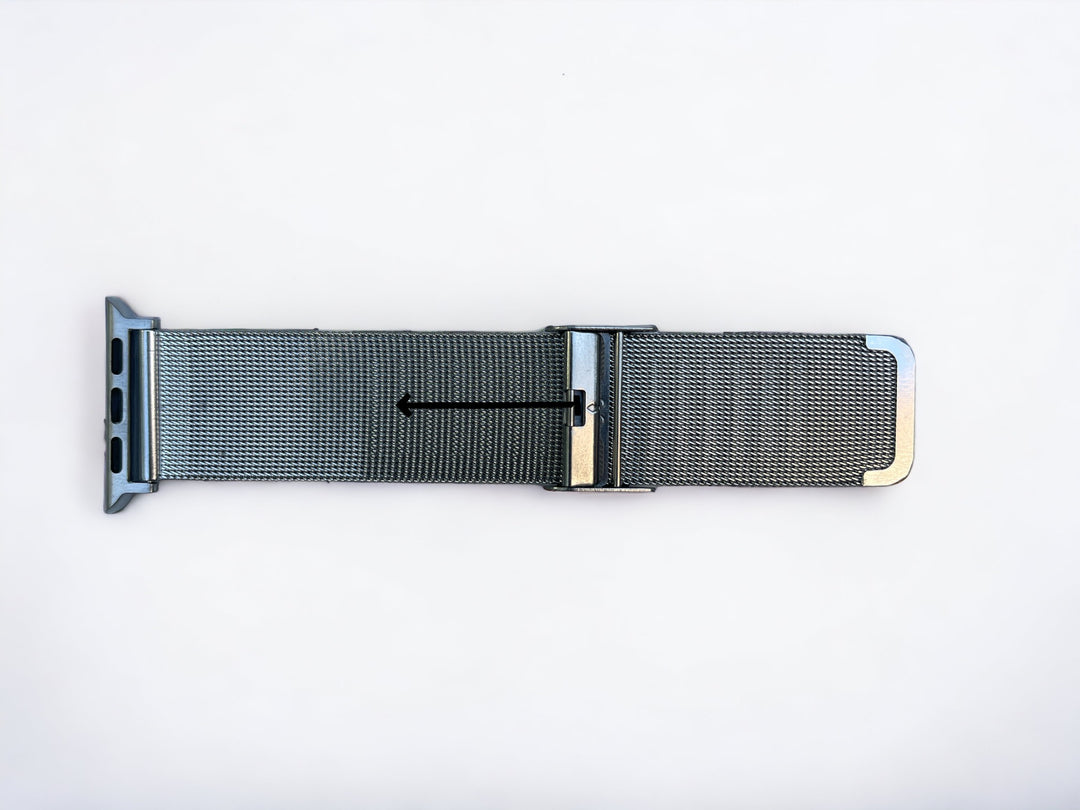
There is a secondary adjusting buckle that is hinged. There is a tiny arrow that shows you which way the buckle opens. You can use your fingernail, hard edge or tool to pop the buckle up. You will pop it up from the bottom on the side closest to the bar (not from the rectangular opening near the top). Once it is open, the buckle will slide freely around for you to resize.
Step 4:
If you turn the band to the back side, you will see the buckle alignment groove. This alignment groove must match up to one of the many groove alignments on the watch band. You can slide the buckle up or down to resize the band to your wrist and once you have the correct size, you can lock the buckle back onto that alignment groove. Locking onto that alignment grooves will ensure the band will not become loose or unlock over time.
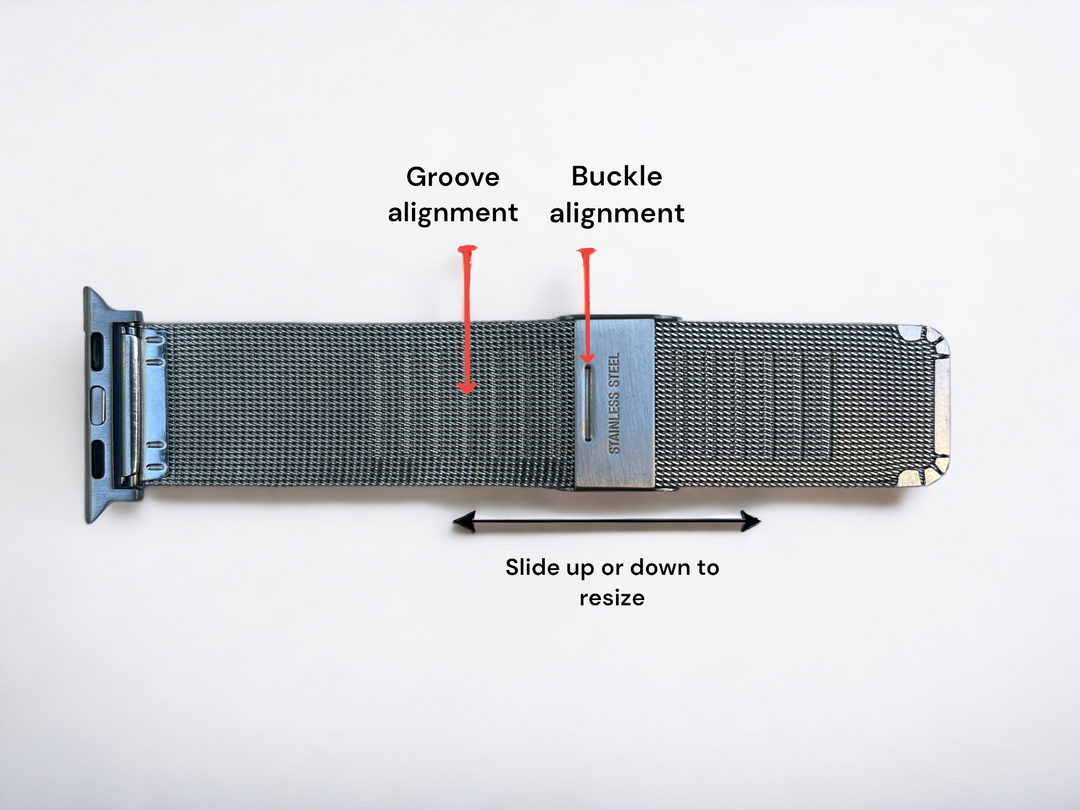
Adjustment complete
Your Apple Watch milanese buckle band is now resized to your wrist. To buckle the band on your wrist, just follow step 1 in reverse order.


